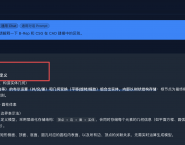
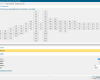
本文简单阐述下如何在已有项目进行快速环境配置。(1)选择环境配置,点击新建,在新建窗口中,选择复制现 ...[详情]
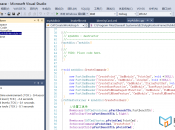
在 CATIA (CAA) 开发中,修改命令图标(Command Icon)对背景色和尺寸有严格要求。如果图标不符合规范,会 ...[详情]
针对 Windows 10 以上系统安装 Catia 许可证解决方法 运行命令无法启动安装,智能通过命令方式了 1、 ...[详情]
【EchoCAD】EchoCAD V1.0发布,支持基于 AI
公众号: PLM之家plmhome PLM之家NX插件,
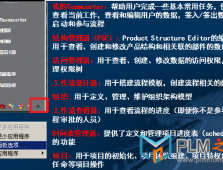
【PLM之家NX插件】系列功能31:加入我们 功能


微信公众号

 |小黑屋|PLM之家-专注工业软件生态建设,大模型CAD创新生态
Powered by plmhome! X3.5|By plmhome20201011版